Update for Sept 2019
New mold finally looks good!
The only problem was that the master part had been altered so much, filler, putty, primer and so on, that it really didn’t survive being used one more time to make a mold. I should have let the part harden up and cure for a month or so, but just didn’t have the time to wait. So I knew it would be taking a chance trying to make a mold from it. The good news is that even though a lot of the putty and filler was pulled from the master, it was easily cleaned out of the mold using a pick and a lot of patience…..
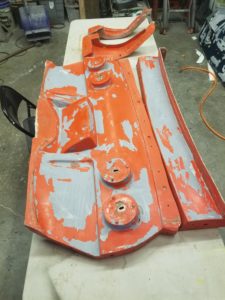
primer, putty and paint pulled from master onto mold
AFTER the mold was cleaned and allowed to cure for a week of so, it got a dozen coats of wax. Each part got a good coat of Gelcoat right up to the seams.
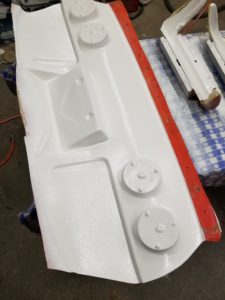
Each part received a nice thick coat white gelcoat
Then three of the parts that attach to the body flange were bolted together. Next, the molds got 3 layers of 1.5oz matt.
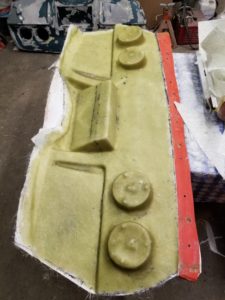
main rear panel receiving glass
THEN THE main rear panel was bolted to the flange sub-assembly and an application of gelcoat over the seam areas was followed by additional glass matting.
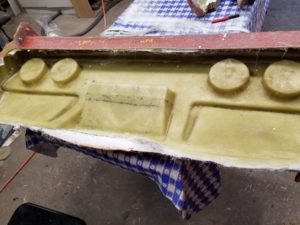
Flange components bolted to the main tail lamp mold
THE NEW PART can out of the mold really nice! It did have one problem, in that I ran out of gelcoat and so it was a bit too thin near the seam areas. This resulted in some wrinkling of the gelcoat as it was not able to cure perfectly and had a reaction to the glass matt when it was laid. I ended up lightly grinding off all the spots where there was wrinkling and applied a layer of Evercoat panel adhesive/body filler. All the parts got block sanded and checked for any other issues.
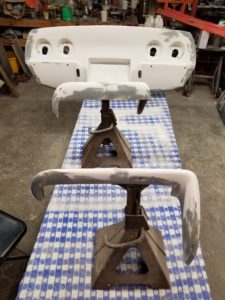
All imperfections corrected with Vette panel adhesive/filler
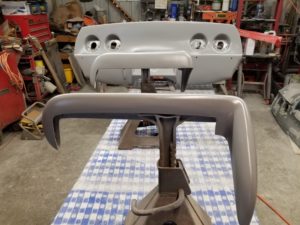
Two coats of 2K primer sprayed and later blocked out to look for any other issues
I LAY OUT AND DRILL all the holes for the mounting flange, bumpers and tail light housings. I have a template to guide me in locating the flange mounting holes. After a day of drying, the parts were block sanded and given another coat of 2K primer.
mounting flange holes drilled out
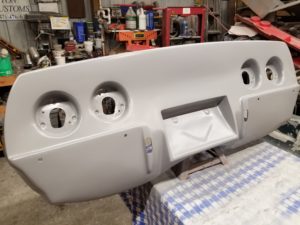
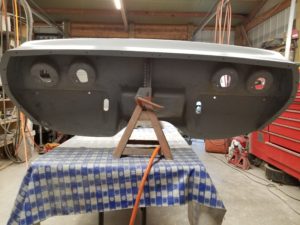
final coat of 2k primer left view
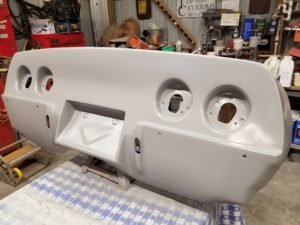
final coat of 2K right view
TECHNICALLY…..this part is ready to go, but… I want to put it through some quality control testing. I will be leaving it out in the sun for a couple of weeks to make sure there will be no issues at the seam area where the gelcoat was thin and I “repaired” with Evercoat panel adhesive/filler. I’ve used this product for over 30 years so it’s not the product I’m concerned with, rather that I might have missed something.
CURRENTLY… while waiting for supplies to be shipped for the next part I’m waxing and prepping the mold!