Step by Step installation
This sample car is a 1976 C3
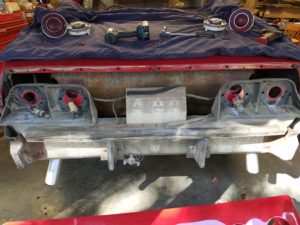
First thing to do is remove the tail light assemblies
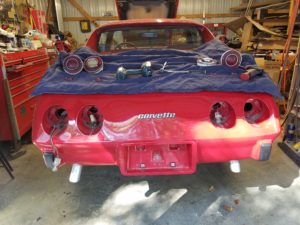
Removing tail lights
Remove the 3 screws holding the bumper cover to the bracket behind the cover. 3 screws for each lamp
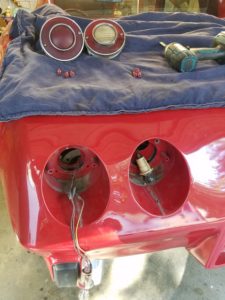
3 screws for each lamp to hold cover to brackets
View of the brackets behind the bumper cover…
brackets behind cover are to mount the tail lamps and back up lamps
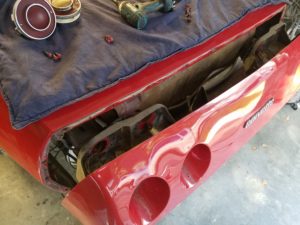
Removing the bumper cover exposes the impact assembly and lamp brackets…
cover off
The entire impact/collision bumper assembly has to be removed…
crash bar is bolted on at each corner
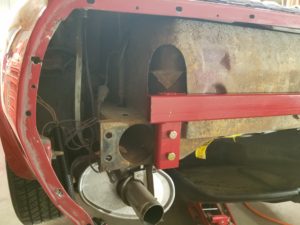
Remove impact plungers/pistons from the frame, lower the exhaust system and move wires out of the way
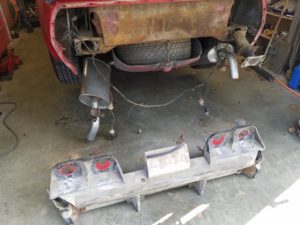
drop exhaust and remove impact bar components, pistons etc
NOTE that bolts go in at the side of the pistons through the frame. Twist the assembly to remove from the frame…
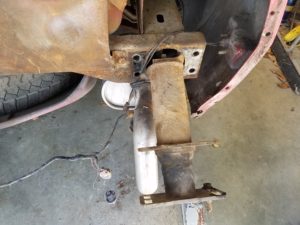
bracket at end of the piston can just be seen… a bolt goes through the frame to attach it
Fabricate a wire harness and install your tail lamps and back up lamps. I cut the original harness and attached this to the backside of the panel…
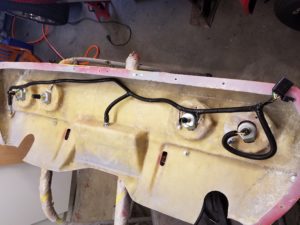
fabricated loom running to the lights
I used a trailer connector to allow the assembly to be taken on and off with out fighting with the loom at the lights…
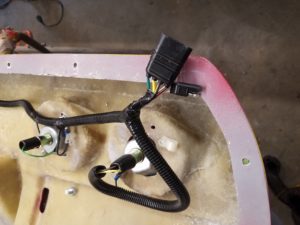
connectors to plug into the cars wiring harness
IF YOU FEEL THAT YOU NEED MORE REAR BODY PROTECTION….
I fabricated a bar to extend from one frame rail to the other, out of 1″x2″ 3/16 steel tubing. While the frame does run across the back I just wanted to add a bit more protection. Care must be used to not let it mount too high as it will otherwise interfere with the tail light and backup light buckets of the rear body panel…
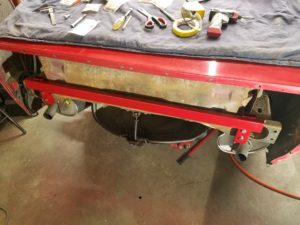
fabricated rear bar
As can be seen, I used the inner mounting holes on each frame rail to attach too and ran the bar just high enough to clear the top bolt. Once the bar is built, remove it for installation after the panel is attached as there is very little clearance to reach the attaching hardware for the panel.
location of mounting the bar
After attaching the body panel, mount brackets temporarily to the panel and locate spots on the frame where you can drill holes to then insert bolts to attach the brackets to the frame. Depending on your car, (sagging body mounts, shifting etc) you may need to bend the brackets slightly in a bench vise. NOTE: attach the center brackets (long thin bracket to the left in this photo) to the bumper first, then put the bracket through it’s hole. After marking the holes, remove the bumpers and brackets to drill holes. Then, reinstall the bar if you fabricated one. Then attach the bumpers and brackets for the final installation.
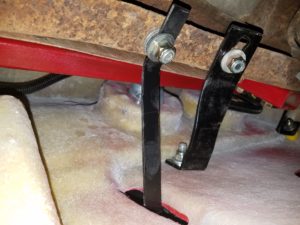
brackets bolted to the frame
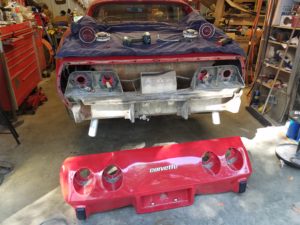
You should be good to go!

panel installed with lights and bumpers.